


So-called metaframeworks like Next.js and Gatsby have taken off in the last few years. This article introduces you to one of the most recent examples, the SvelteKit framework for Svelte. Like Next.js before it, SvelteKit provides an all-in-one, full-stack platform for building reactive web apps.
SvelteKit is the successor to Sapper, the previous generation of the full-stack prerendering framework for Svelte.
What is SvelteKit?
The idea behind SvelteKit is to roll together a front end and back end and obtain the best of both worlds. In addition to making for a simple build process (because the entire stack is combined), SvelteKit provides the following benefits out of the box:
- Server-side rendering
- Code splitting
- Client-side routing
- Simplified data pre-fetching
- One-command static-site export
- Full-stack hot deploy (dev mode)
The trade-off for these benefits is a steeper learning curve: You have to accept and absorb the conventions that the framework uses to tie together the two elements of the application. These conventions are not terribly onerous, however, and once mastered, development moves along at a snappy pace.
To begin exploring, we will start with the default SvelteKit app template. (If you want to follow along, the whole sample app is available here.) We’ll use the template with Rollup (Webpack is also available). In a console, type
npm init svelte@next svelte-kit-intro
Now move into the newly created /svelte-kit-intro directory and run npm install to install the Node.js modules.
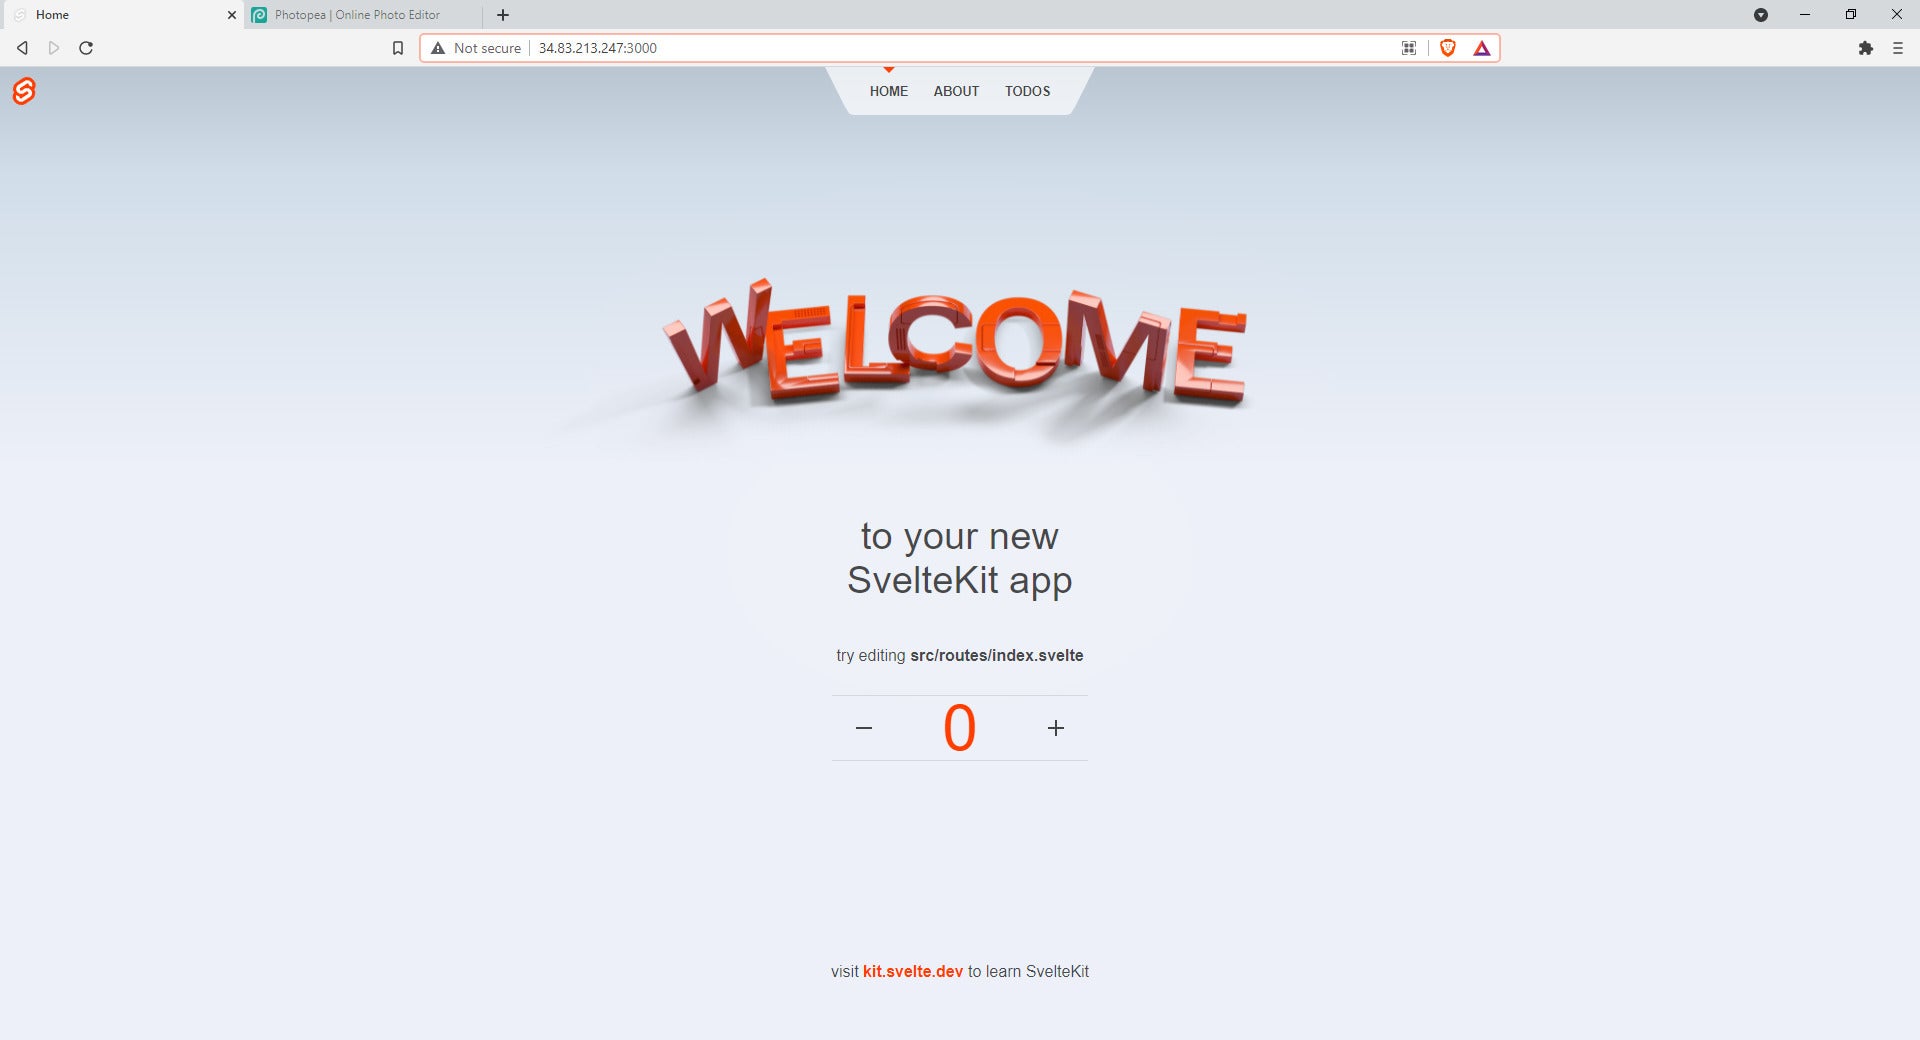
Now you can run the application in dev mode with npm run dev. If you open your browser to localhost:3000, you’ll see the app running, as in Figure 1.
Figure 1. SvelteKit starter app
 IDG
IDGRoutes in SvelteKit are files and folders
Each page of your application is a Svelte component. Each route is mapped to a file in your application.
The most important top-level directory is /src. Most of your custom code will live here. Note the /src/routes directory. This is where the URLs that your application will support are defined.
Folders correspond to the path, and files to the resource. The default entry into the application is /src/routes/index.svelte, which corresponds to the root URL: localhost:3000/. Whenever a folder path has an index.svelte file, that file will be served for the empty path.
In the case of the starter app that you are looking at, each tab on the navigation bar corresponds to a route. Click the “Todos” tab. Take a look at the source: Note that there is a /src/routes /todos/index.svelte file that serves this page.
Non-route files with underscore
You can place JavaScript files anywhere in the routes structure with an underscore (for example, the /src/routes/todos/_api.js file in the sample app). These files can be used as shared JS modules.
Add a page
This is the client-side routing. SvelteKit will automatically pre-render these pages for you on the server, at which point a client-side single-page application will take over. To see how simple it is, let’s add a page. Create a /src/routes/infoworld.svelte page and put the content from Listing 1 in it.
Listing 1. A new InfoWorld page
<main>
<img src="https://alt.idgesg.net/images/furniture/infoworld/infoworld-nameplate.svg" />
</main>
<style>
  main {
    background-color: #7f1231;
  }
  img {
    width: 500px;
  }
</style>
Now browse to localhost:3000/infoworld and you’ll see the new page.
Layout in SvelteKit
Another important convention default is the __layout.svelte file (note the double-underscore prefix). This file will automatically define a layout that is applied to every page. Svelte incorporates the concept of a slot, and __layout.svelte makes use of this idea to determine where to put the inner content. Listing 2 shows how the layout works currently (with styles omitted for brevity).
Listing 2. __layout.svelte
<script>
        import Header from '$lib/header/Header.svelte';
        import '../app.css';
</script>
<Header />
<main>
        <slot />
</main>
<footer>
        <p>visit <a href="https://kit.svelte.dev">kit.svelte.dev</a> to learn SvelteKit</p>
</footer>
<style>
/* … */
</style>
Besides the slot, the layout uses segment and a Header component. segment is a built-in feature that will auto-populate the variable with the current page. This is used by the Header component to determine what menu item to highlight.
Now let’s add a nav item for our new InfoWorld page. Open the src/lib/header/Header.svelte file. In the unordered list (the element) add a new list item as shown in Listing 3. Notice the new fourth item linking to the InfoWorld page.
Listing 3. Adding a new menu item
<ul>
  <li class:active={$page.path === '/'}><a sveltekit:prefetch href="/">Home</a></li>
  <li class:active={$page.path === '/about'}><a sveltekit:prefetch href="/about">About</a></li>
  <li class:active={$page.path === '/todos'}><a sveltekit:prefetch href="/todos">Todos</a></li>
  <li class:active={$page.path === '/infoworld'}><a sveltekit:prefetch href="/infoworld">Infoworld</a></li>
</ul>
Now you will see in the browser the new InfoWorld menu item. Notice that we use the segment variable that we passed in from __layout to highlight the menu item based on the page name.
Server-side SvelteKit
Now let’s get a sense for how SvelteKit integrates the client with the server. Open the /src/routes/todos/index.svelte file and compare it with what you see at the localhost:3000/todos page. Notice that the page allows you create new todos, which are then listed. How does SvelteKit accomplish the listing of the todos? Look at the code in /src/routes/todos/index.svelte shown in Listing 3.
Listing 4. Hitting the back end
<script context="module">
        import { enhance } from '$lib/form';
        // see https://kit.svelte.dev/docs#loading
        export const load = async ({ fetch }) => {
                const res = await fetch('/todos.json');
                if (res.ok) {
                        const todos = await res.json();
                        return {
                                props: { todos }
                        };
                }
                const { message } = await res.json();
                return {
                        error: new Error(message)
                };
        };
</script>
SvelteKit supports the context="module" attribute. This informs the framework that the script inside should be evaluated at module creation time, instead of component instantiation time. This means the data fetch will occur right away.
Now consider the load function. It is loading data via fetch from a relative URL, /todos.json. Where does SvelteKit go to find this resource? The answer is SvelteKit uses a similar mapping convention to that used on the client side. In this case, the URL will be translated to the path src/routes/todos/index.json.js in the file system. Take a look at that file, and you will see the code displayed in Listing 5 below.
Handling requests
Listing 5 begins by importing a file (_api.). This is nothing SvelteKit-specific; this is simply importing a JS file in Node.js. (index.json.js uses this file for interacting with a remote service provided by api.svelte.dev for use with this welcome app.)
Listing 5. /src/routes/todos/index.json.js
import { api } from './_api';
// GET /todos.json
export const get = async (request) => {
        const response = await api(request, `todos/${request.locals.userid}`);
        if (response.status === 404) {
          return { body: [] };
        }
        return response;
};
// POST /todos.json
export const post = async (request) => {
        const response = await api(request, `todos/${request.locals.userid}`, {
          text: request.body.get('text')
        });
        return response;
};
The rest of Listing 5 is concerned with marshaling a JSON that mediates a response between the back-end REST requests and the front end. We export a get function that is mapped to the GET HTTP method we hit from /src/todos/index.json.js. And export a post function for handling POSTing the todos.
Notice these endpoint functions are Express-like, but not actually Express. Remember that SvelteKit is designed to ultimately run on a variety of platforms, not just Node.js, so it is an abstracted request/response API.
Outputting to specific build environments is handled via adapters.
URL path parameters
Now create a couple todos and then edit one of their names. Updating the todo name is handled by this submitting to this URL in src/routes/todos/index.svelte:
"/todos/{todo.uid}.json?_method=patch"
Notice the {todo.uid} variable token is used to supply an ID to the URL path.
This is captured by the /src/routes/todos/[uid].json.js file.
The square brackets in the filename indicate a where URL param will be populated. This identifier (“uid”) will be made available to the code therein.
Open the [uid].json.js file and look at the PATCH method defined there, and you’ll see how that path parameter is accesed via request.params.uid, as seen in listing 6.
Listing 6. Accessing path params in [uid].json.js
export const patch = async (request) => {
return api(request, `todos/${request.locals.userid}/${request.params.uid}`, {
text: request.body.get('text'),
done: request.body.has('done') ? !!request.body.get('done') : undefined
});
};
Listing 6 also makes use of the shared _api.js module you saw earlier, which is used to wrap the shared functionality in accessing the remote API.
Easy as Svelte
There is more under the hood in SvelteKit, but we’ve covered the basics. You’ve seen how quickly you can begin wiring together a full-stack application that leverages server-side rendering. And you’ve seen how Svelte makes life easier.
As a final note, you can create a production build with npm run build with both server and client, or a static build with npm run export.